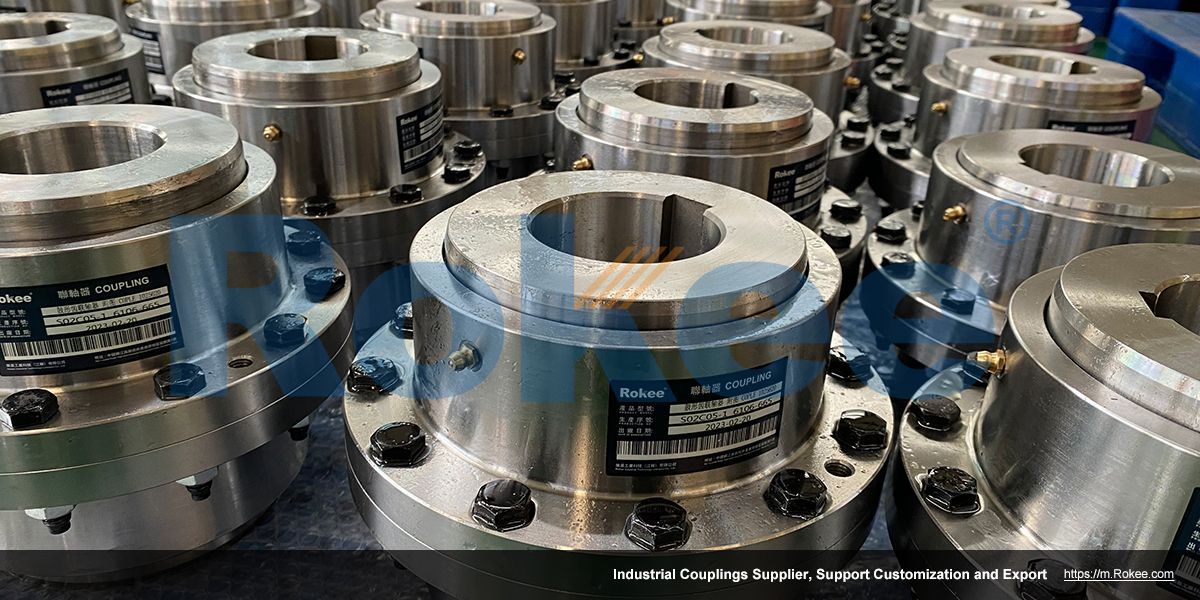
There are various alignment methods for drum gear couplings, and the most suitable method should be selected according to the actual situation for operation. Meanwhile, pay attention to the details and precautions during the alignment process to ensure the accuracy and reliability of the alignment.

The alignment of drum gear couplings is a key step in ensuring smooth operation of equipment, reducing vibration, and extending the service life of couplings. Here are some commonly used methods for aligning crown gear couplings:
Dial gauge measurement method
Measure the radial and axial deviation values of two axes using a dial gauge. The specific steps are as follows:
Fix the dial gauge in a stable position relative to both axes.
Measure the radial and axial deviation values of two axes, generally requiring a radial deviation of no more than 0.05mm and an axial deviation of no more than 0.08mm.
Analyze the measurement data, accurately calculate the adjustment amount, and adjust the position of the shaft by adjusting the gasket under the bearing seat.Laser to French
Using a laser transmitter and receiver for axis alignment, determine the relative position of the two axes by analyzing the laser signal. The laser has a high measurement accuracy of ± 0.01mm, which is suitable for situations where high precision is required.Feeler gauge measurement method
Measure the gap between two shafts using a feeler gauge to determine axial deviation. The selection of gauge thickness should be based on the actual size of the coupling, usually choosing a thickness specification of 0.02~0.1mm. This method is simple and direct, but has relatively low accuracy, making it suitable for situations where precision is not required.Optical measurement method
Using optical instruments such as theodolites, measure the positional deviation of axes based on the principle of light propagation. The optical measurement method is commonly used in the shaft alignment of large drum tooth couplings, and the measurement range can reach several meters or even tens of meters.Dynamic measurement method
Measure while the equipment is running, monitor the vibration of the shaft through vibration sensors and other devices, and adjust the position of the shaft accordingly. This method can ensure that the equipment maintains a good alignment state during operation.Gasket adjustment method
Adjust the position of the shaft by adding or removing shims under the bearing seat based on the measured deviation value. The gasket material is generally made of stainless steel or copper, with a thickness accuracy controlled within ± 0.01mm. This method is suitable for fine-tuning the position of the shaft.
Precautions
Before aligning, ensure that the coupling and its related components are cleaned and in good condition.
During the alignment process, adjustments should be made strictly according to the measurement data and calculation results to avoid blind operation.
For high-speed drum gear couplings, thermal expansion factors should be considered and a certain amount of compensation should be reserved.
After alignment is completed, an overload test should be conducted to ensure that the coupling can operate smoothly at rated torque.
« Alignment Method For Drum Gear Coupling » Post Date: 2023/8/14
URL: https://m.rokee.com/blog/alignment-method-for-drum-gear-coupling.html
- What Oil Is Added To The Drum Gear Coupling
- What Oil Is Used For Drum Gear Couplings
- What To Do If The Drum Gear Coupling Is Broken
- Where To Buy A Drum Gear Coupling
- Drum Gear Coupling Housing
- Which Is The Best Company For Drum Gear Couplings
- Drum Gear Coupling Gear Module
- Drum Gear Coupling Forward And Reverse
- Wholesale Factory Of Drum Gear Couplings
- Drum Gear Coupling Direct Pin
